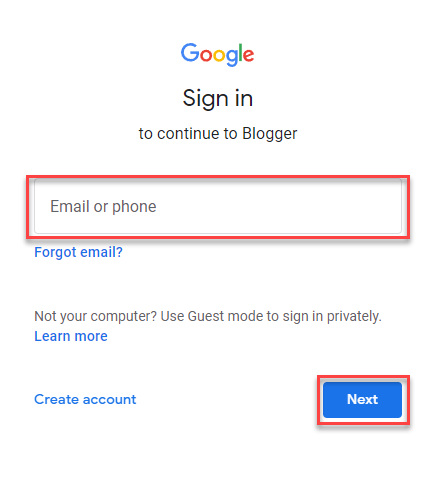
Step 1: Sign in to Blogger
- Go to Blogger.com.
- Click on the “Sign In” button in the top right corner.
- Sign in using your Google account. If you don’t have a Google account, you’ll need to create one.
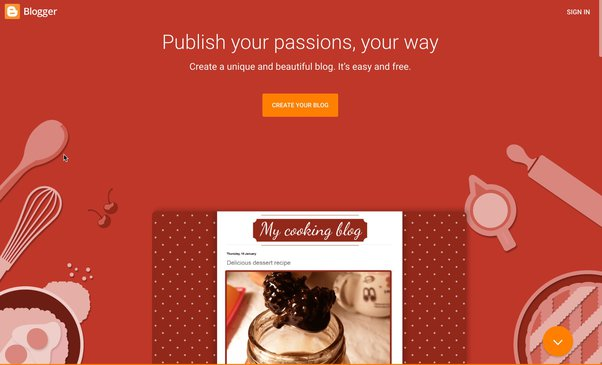
Step 2: Create a New Blog
- After signing in, you’ll be taken to the Blogger dashboard.
- Click on the “Create New Blog” button.
Step 3: Choose a Blog Title and Address
- Enter the title of your blog.
- Choose a blog address (URL). Blogger will check if the address is available.
- Select a theme for your blog. You can change this later if you want.

Step 4: Customize Your Blog
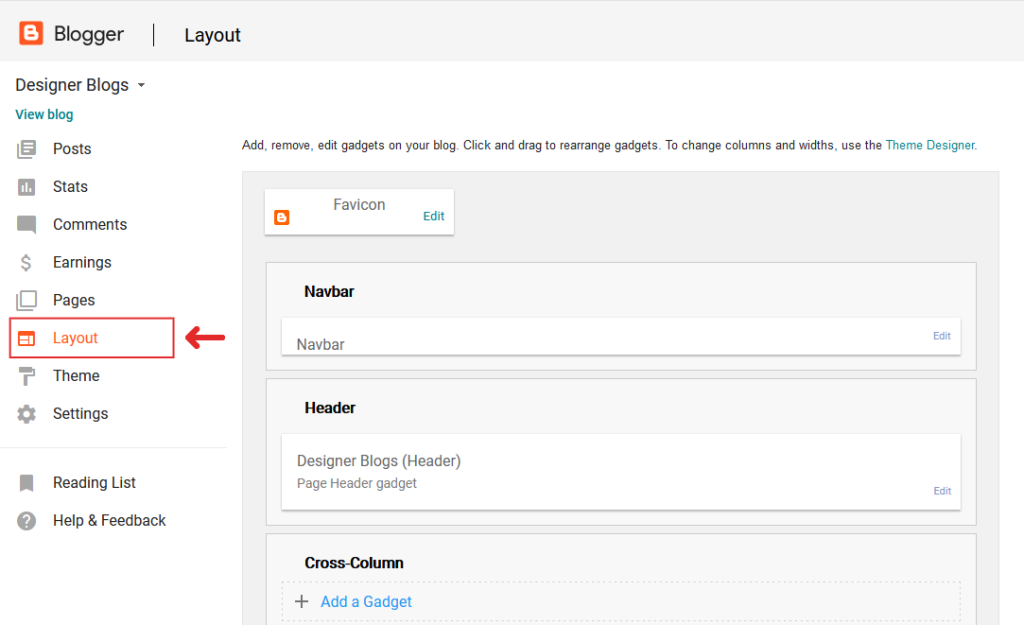
- Once your blog is created, you’ll be taken to the dashboard.
- Click on the “Theme” option in the left menu to customize the look of your blog.
- Choose from the available themes and customize it according to your preference.

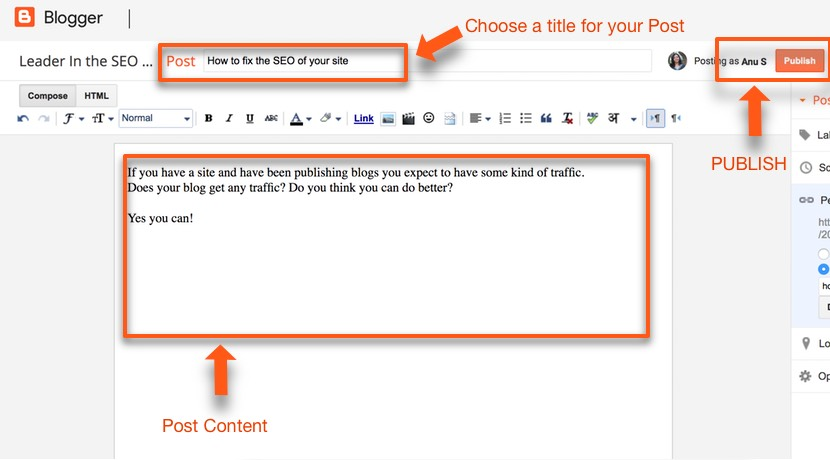
Step 5: Create Your First Post
- Click on the “New Post” button on the left sidebar.
- Enter a title for your post.
- Write your content in the editor. You can format the text, add images, videos, and links.
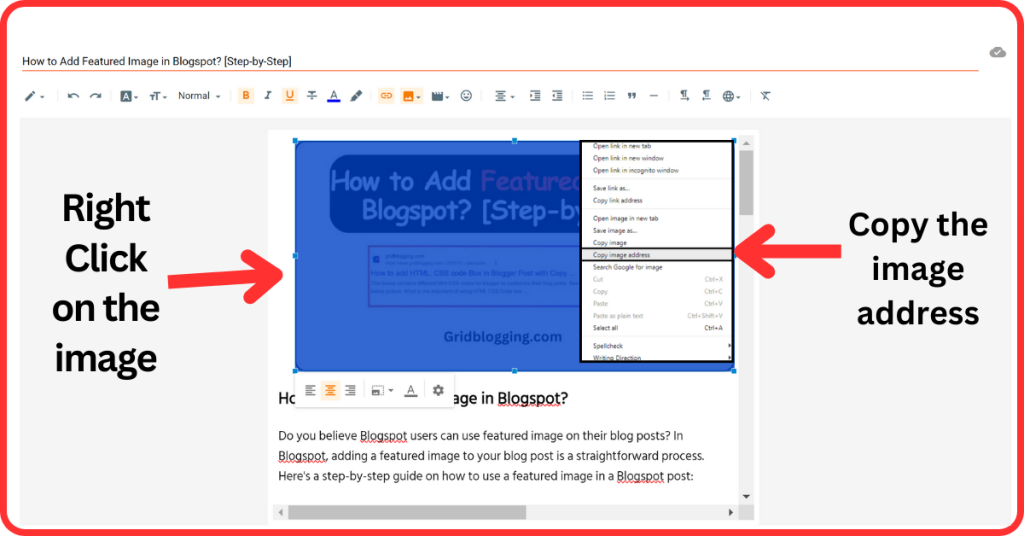
Step 6: Add Images to Your Post
- To add an image, click on the “Insert Image” icon in the editor.
- Upload an image from your computer or select from your Google Photos.
- Once uploaded, click on the image to adjust its size and alignment.
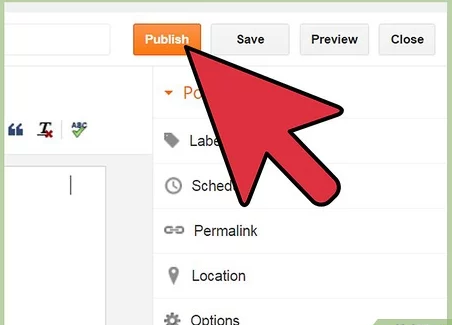
Step 7: Publish Your Post
- After finishing your post, click on the “Publish” button in the top right corner.
- You can also save your post as a draft if you want to edit it later.
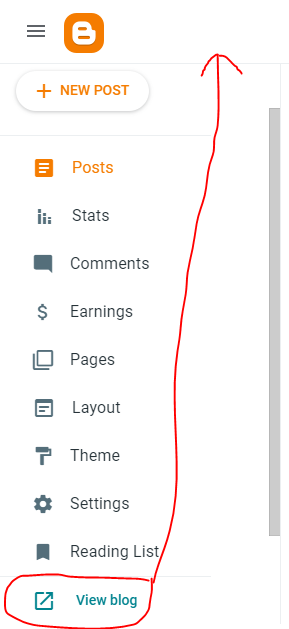
Step 8: View Your Blog
- To see how your blog looks, click on “View Blog” at the top of the dashboard.
- This will open your blog in a new tab, showing your published post.
Step 9: Manage Your Blog
- Use the Blogger dashboard to manage your posts, comments, and pages.
- You can also access settings to customize your blog further, such as adding a custom domain, managing authors, and more.
Conclusion
Congratulations! You have successfully created a blog using Blogger. Now you can start sharing your thoughts, stories, and ideas with the world. Remember to regularly update your blog with new posts to keep your audience engaged.